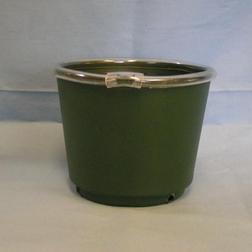
Create a Rolled Rim Pot
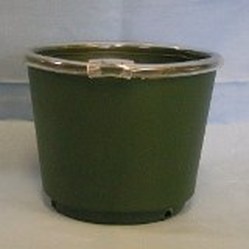
Many of us remember when “rolled edge” pots were easy to find, but that is no longer the case. There is a solution to the dilemma. You can make your own rolled rim pot by softening the edge of the pot with a piece of plastic tubing:
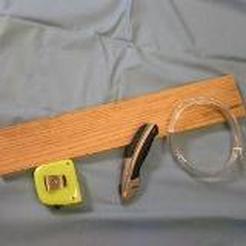
You can fit a piece of split tubing over the pot rim, but if you've ever tried to split tubing with a knife or scissors, you know it’s difficult! Following is a way to create a jig for cutting a straight line in a section of tubing perfect for the pot edge. Woodworking skill is needed!
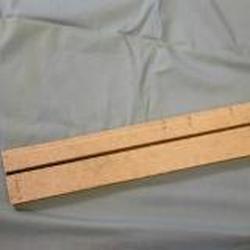
Cut a groove down the length of the board with a table saw (or router) set to a cutting depth of about 1/8 inch.
Pass the board over the blade until the groove width is slightly less than ¼ inch wide.
The ¼ inch tubing should fit snugly in the groove.
Pass the board over the blade until the groove width is slightly less than ¼ inch wide.
The ¼ inch tubing should fit snugly in the groove.
Measure the outside circumference of your pot rims and add an extra ½ inch. Use the measurements to mark the board with the pot sizes you use: 3 inch, 3 ½, 4, etc. (The extra length can be trimmed once the tubing is in place on the pot.)
|
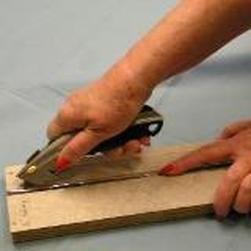
Press the section of tubing into the groove. Hold the shortened blade at about a 45 degree angle and use the edge of the groove to support and guide the blade. (It’s important that the blade be very sharp!) Slit the tubing lengthwise and remove it from the board. Your tubing is now ready to be slipped over your pot and adjusted for fit. |
Hint: If your tubing is stiff from being stored in cool temps, a short soak in really warm water after it's been cut will make it more pliable. It's easier to cut when stiff, but easier to put on the pot when softened a bit.

